Deck Construction in Hawaii: What Homeowners Need to Know
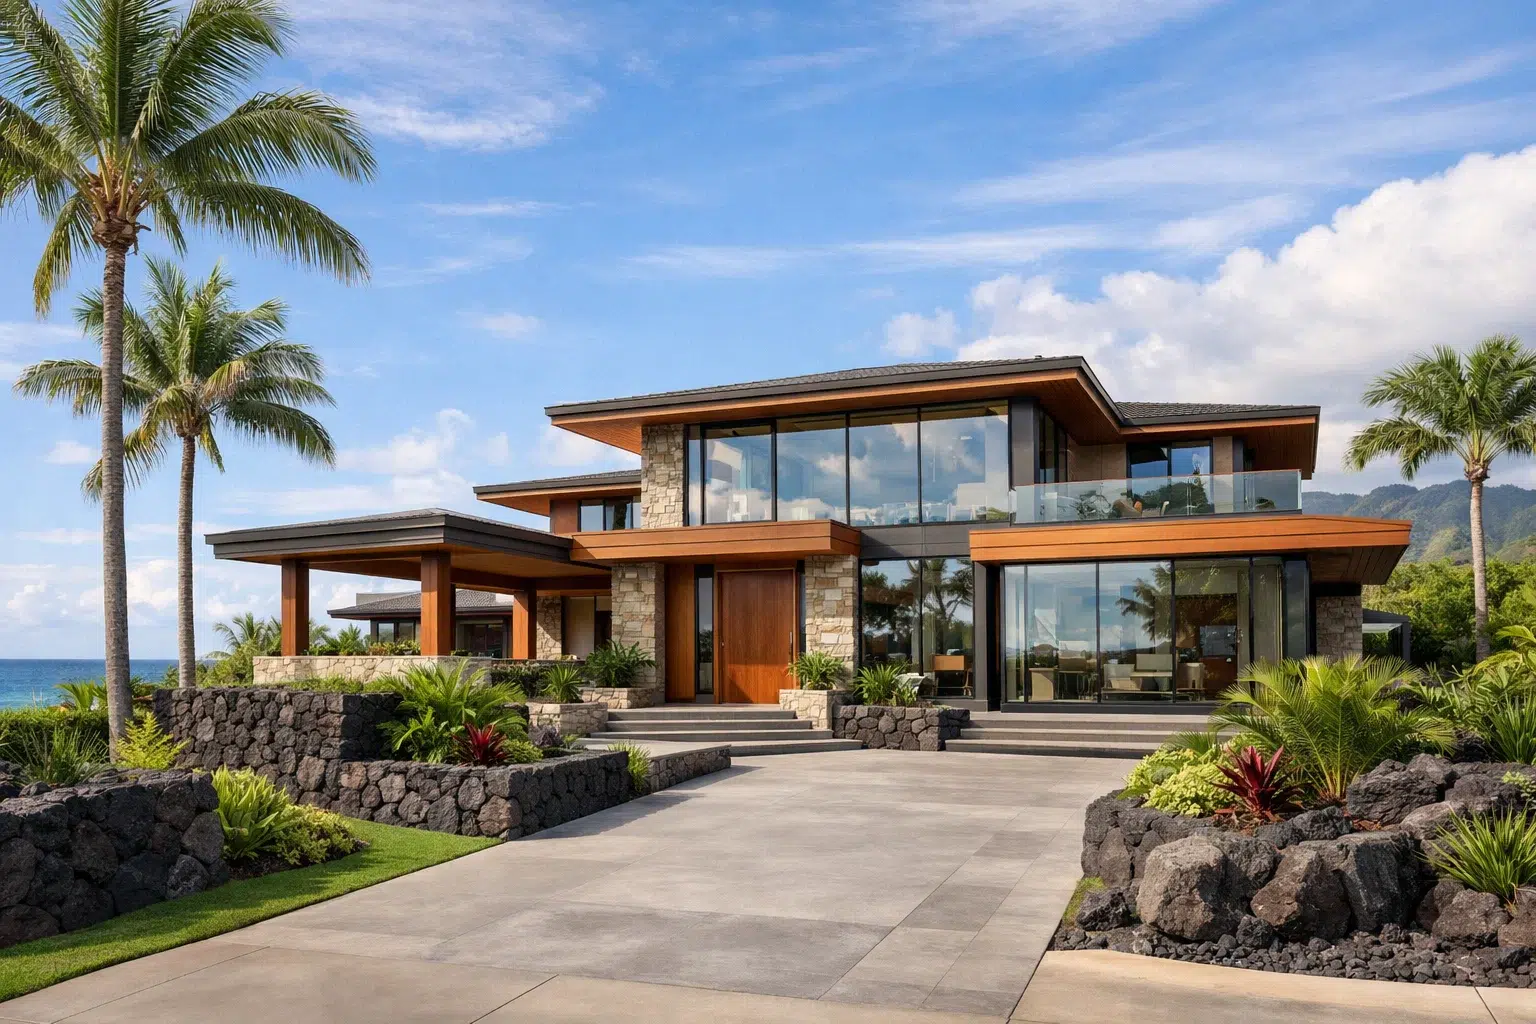
Deck construction in Hawaii requires thoughtful planning, durable materials, and an understanding of island climate conditions. Homeowners exploring outdoor upgrades often want spaces that handle sun, salt air, and heavy rain while increasing property value and everyday comfort. Careful design ensures lasting performance and beauty.
From Honolulu to the Neighbor Islands, building a deck involves permits, structural engineering, and material choices suited to coastal exposure. This guide explains what to expect, common options, cost factors, and why working with experienced local professionals makes a measurable difference for Hawaii homeowners today.
Understanding Deck Construction for Hawaii Homes

Understanding deck construction is essential before committing to design decisions, budgets, and timelines. In Hawaii, environmental exposure, zoning regulations, and property layouts significantly influence how a deck should be planned and built for long-term durability.
Climate and Coastal Exposure
Hawaii’s intense ultraviolet rays, salt-laden air, and seasonal downpours place unique stress on outdoor structures. Proper deck construction accounts for corrosion-resistant fasteners, moisture barriers, and ventilation gaps that prevent premature rot, warping, and structural weakening over time in demanding coastal environments statewide across the islands.
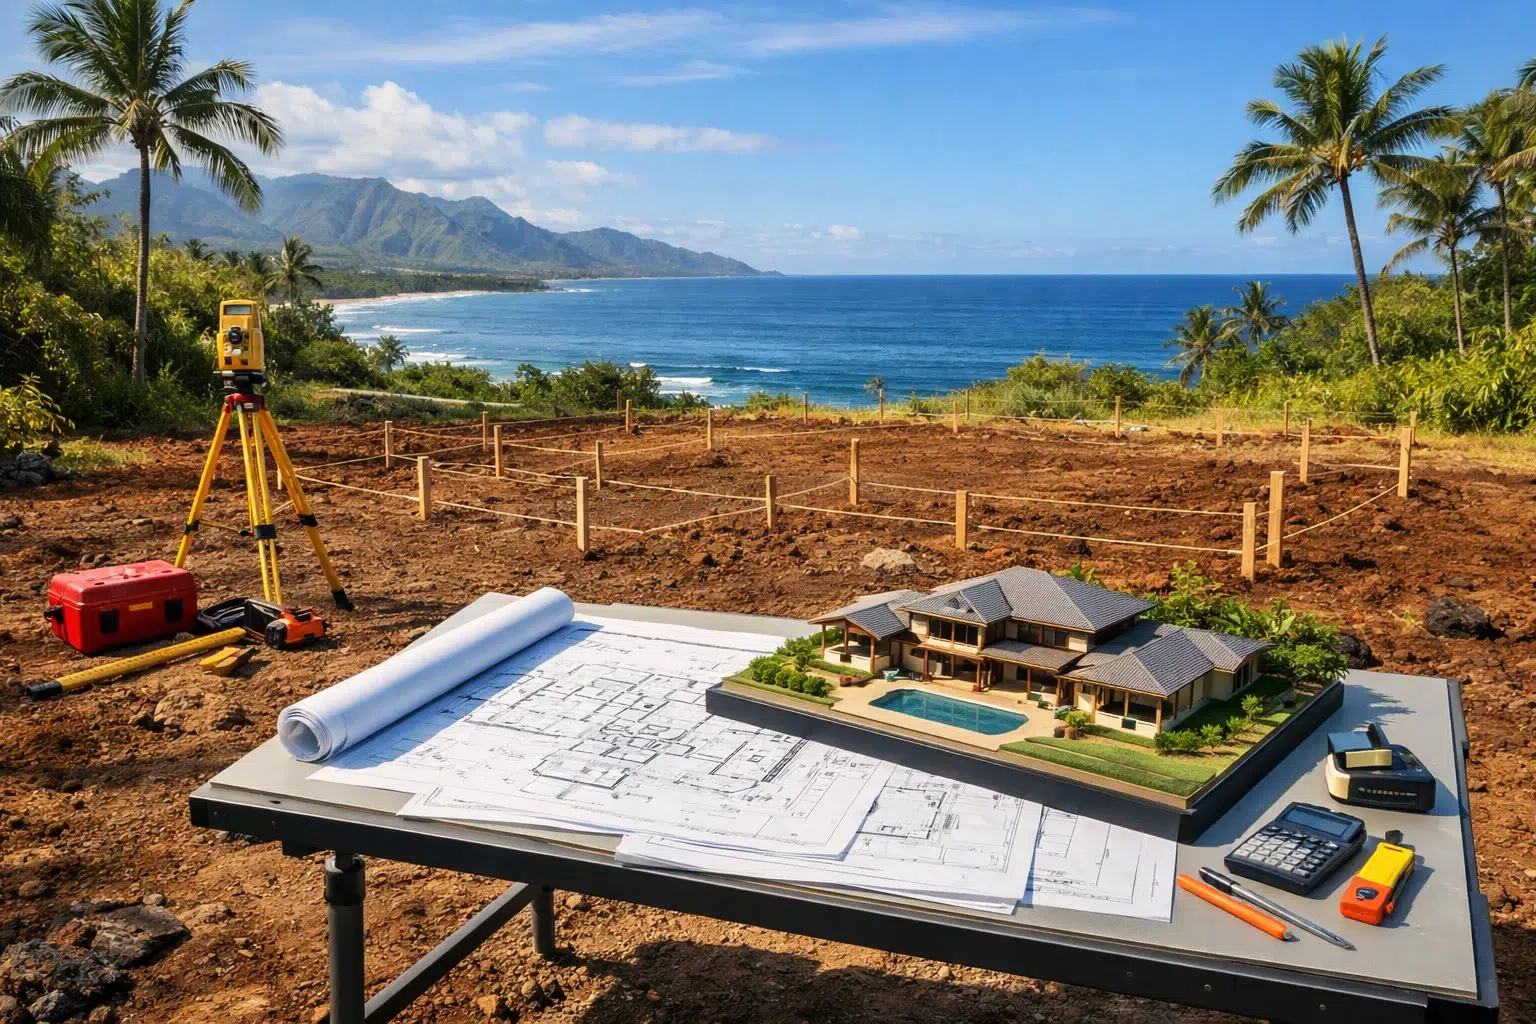
Permits and Zoning Compliance
Many counties require permits for deck construction, especially when structures exceed certain heights or attach to existing homes. Local zoning setbacks, shoreline regulations, and homeowner association guidelines can affect placement, size, and design. Early review prevents costly redesigns and approval delays during the planning phase.
Structural Engineering and Load Requirements
Safe deck construction depends on accurate load calculations, appropriate beam sizing, and secure ledger connections. Hawaii’s seismic considerations and occasional high-wind events require reinforced anchoring systems. Professional evaluation ensures the deck supports occupants, furnishings, and environmental forces without compromising structural integrity over many years ahead.
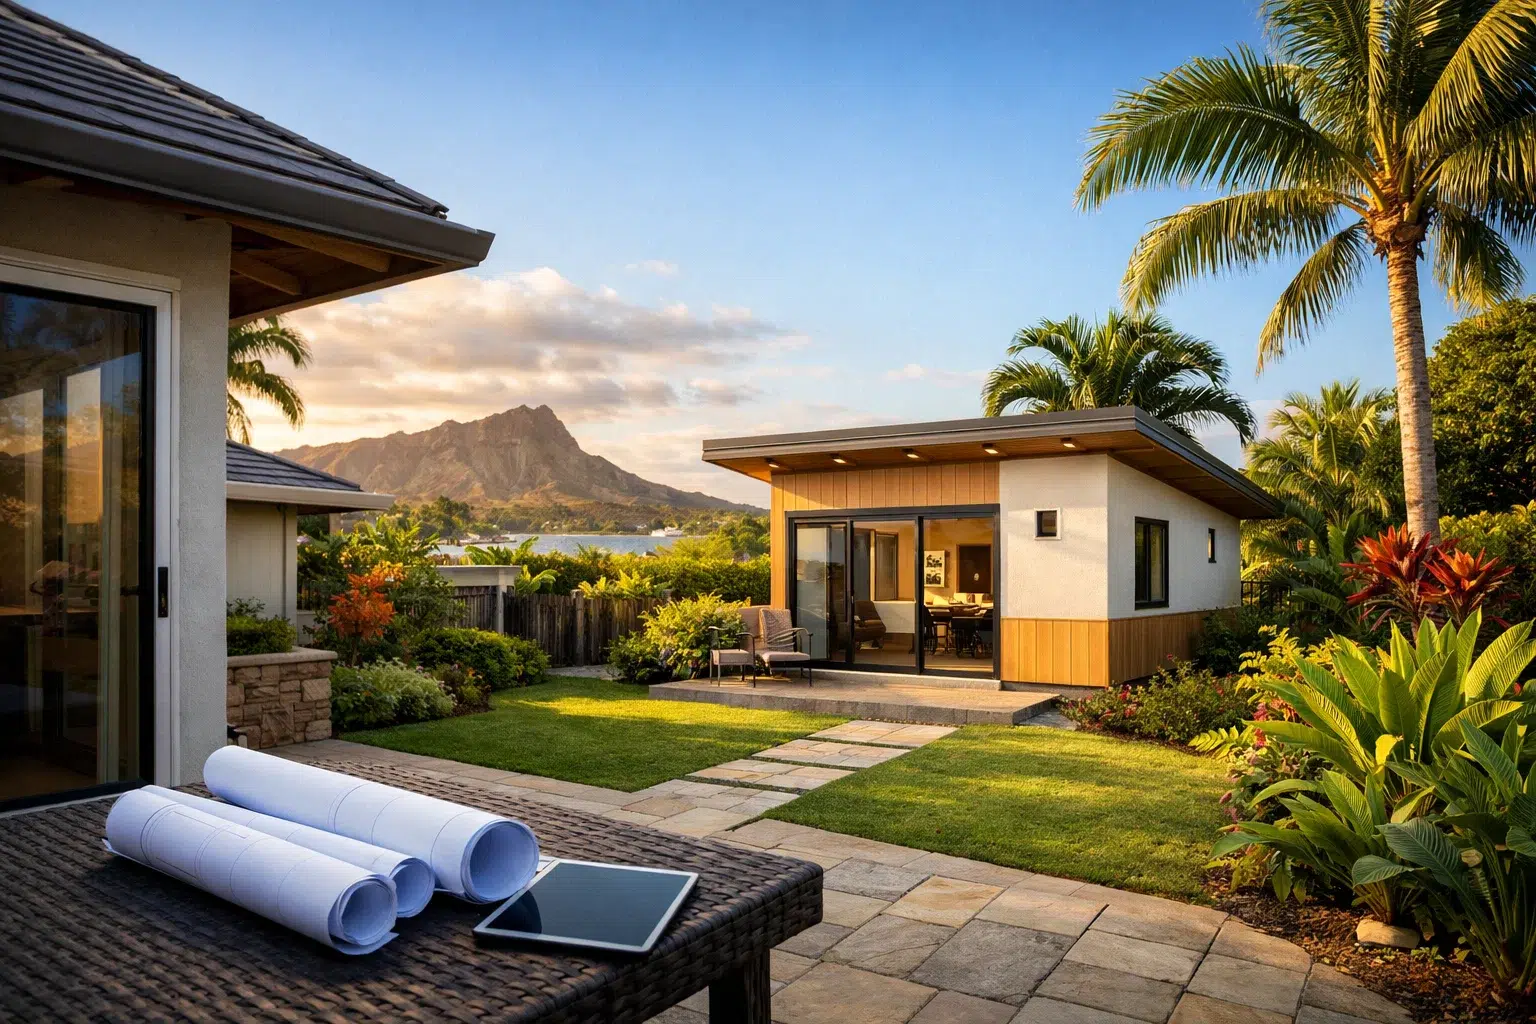
When to Consider Building a Deck
Homeowners often explore deck construction when expanding living space, improving ocean or mountain views, or creating outdoor dining areas. It is also common during major renovations or additions. Planning alongside other upgrades streamlines permitting, design coordination, and overall project scheduling for better long-term results.
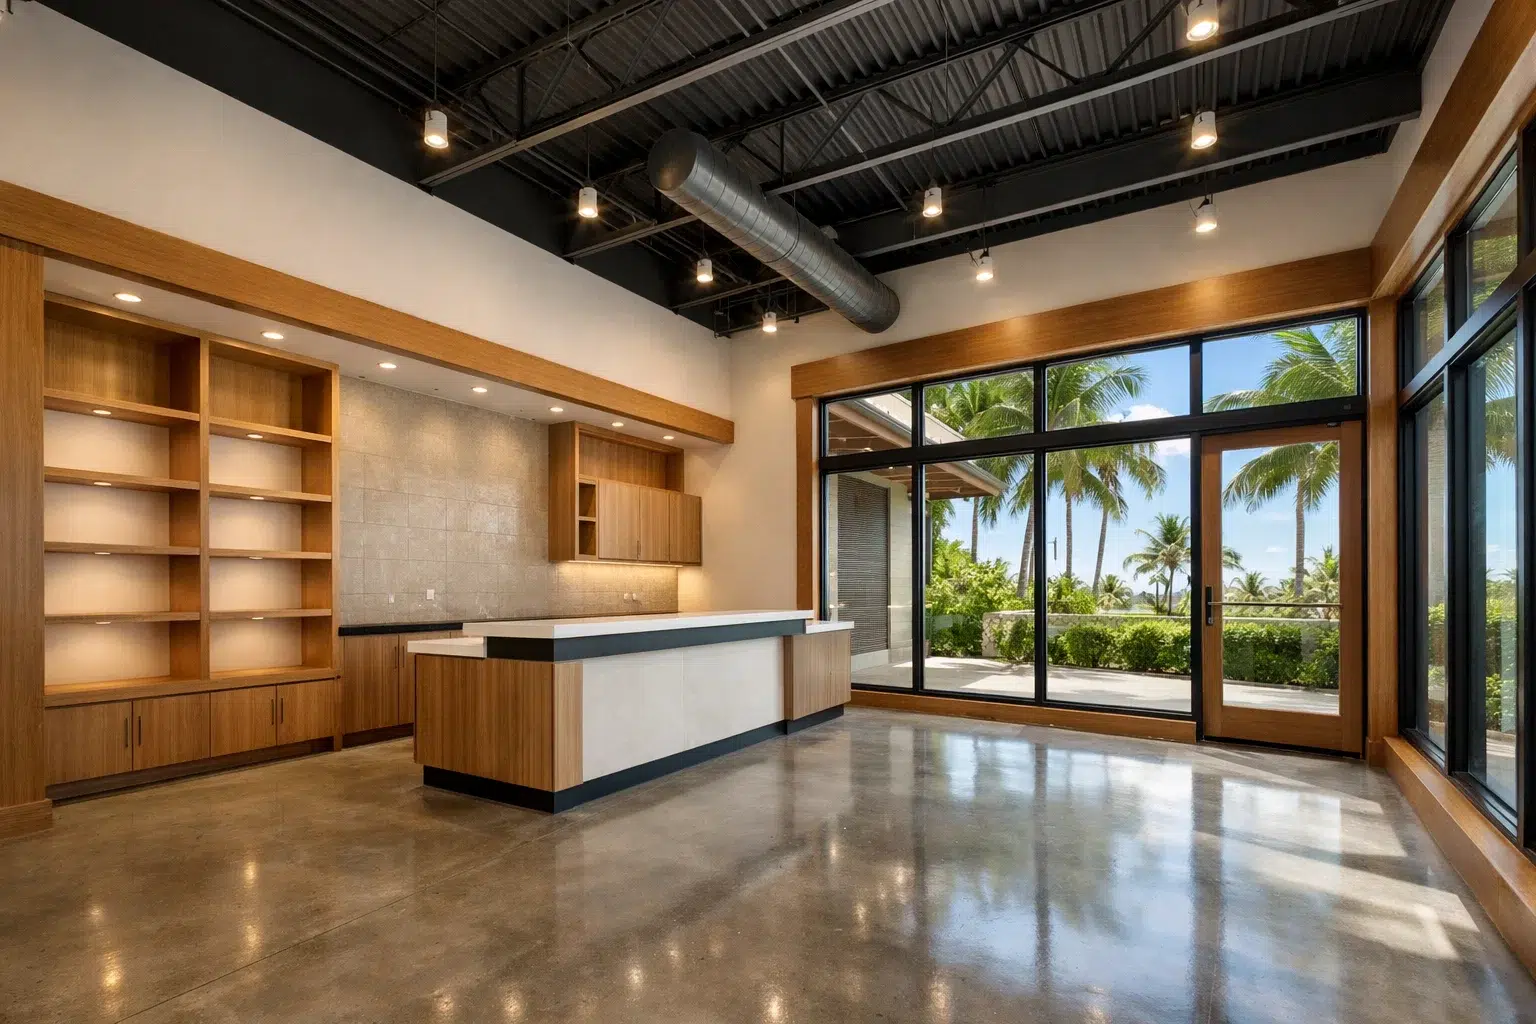
Key Benefits of Deck Construction for Homeowners
Investing in professionally planned deck construction creates more than additional square footage. It enhances how families use their homes, supports entertaining, and strengthens long-term property value. In Hawaii’s climate, a properly built deck also improves airflow, shade opportunities, and functional outdoor living year-round.
- Expands usable living space without full interior additions
- Enhances property value and curb appeal
- Creates dedicated areas for dining, relaxation, and gatherings
- Improves indoor-outdoor flow common in Hawaii home design
- Provides customizable features such as built-in seating or shade structures
- Supports better ventilation and comfort in tropical conditions
Popular Deck Construction Options in Hawaii

Hawaii homeowners choose deck designs based on property size, elevation, lifestyle, and maintenance preferences. The following options reflect both practical and luxury considerations commonly requested across the islands.
Pressure-Treated Wood Decks
Pressure-treated lumber remains a cost-effective option for deck construction, especially for ground-level installations. When properly sealed and maintained, it performs well in Hawaii’s climate. However, consistent upkeep is necessary to prevent moisture damage, surface cracking, and long-term weathering from sun exposure.
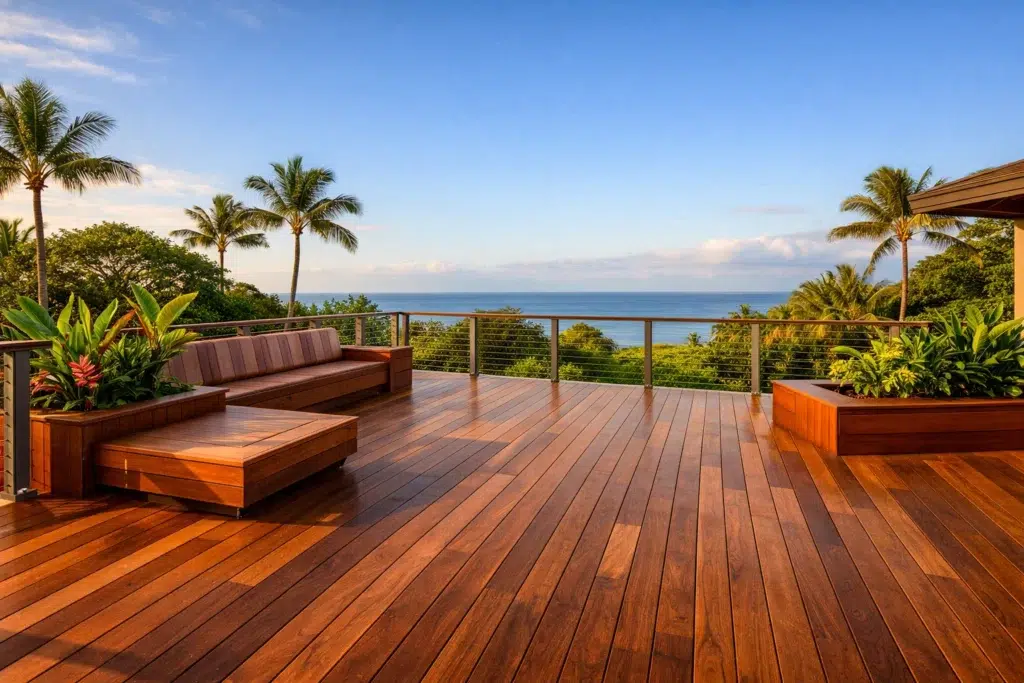
Composite and Engineered Decking
Composite materials offer increased resistance to rot, insects, and fading, making them attractive for deck construction in coastal areas. Although the upfront investment is higher, many homeowners appreciate reduced maintenance needs and consistent appearance over time, especially in properties exposed to salt air.
Elevated and Multi-Level Deck Designs
Homes built on slopes or with ocean views often benefit from elevated deck construction. Multi-level layouts define separate areas for dining, lounging, or outdoor kitchens. Structural reinforcement and careful planning are essential to ensure stability, safety, and code compliance on uneven terrain.
Cost Factors to Consider Before Starting Your Project
Before beginning deck construction, homeowners should understand the variables that influence total investment. While exact pricing depends on site conditions and design complexity, several core factors consistently affect overall cost and timeline expectations.
| Cost Factor | What Influences It |
|---|---|
Project Scope | Size, height, multi-level design, and added features |
Materials | Wood, composite, railings, hardware, and finishes |
Permits | County requirements, inspections, and documentation |
Labor | Skilled carpentry, engineering, and supervision |
Timeline | Weather conditions, material availability, and scheduling |
A detailed site evaluation helps clarify how these elements interact. For example, sloped lots may require deeper footings, while coastal homes often need upgraded hardware to resist corrosion. Transparent planning reduces unexpected changes during construction.
Why Professional Contractors Matter in Hawaii
Choosing the right team for deck construction in Hawaii directly affects structural safety, code compliance, and long-term durability. Island conditions demand specialized knowledge, and experienced contractors help homeowners avoid preventable issues that can compromise both performance and investment value over the life of the structure.
- Deep understanding of Hawaii building codes and permitting processes
- Familiarity with coastal durability requirements and material performance
- Proper insurance coverage and safety protocols
- Coordination with engineers and inspectors
- Long-term workmanship accountability
Deck Construction: 8 Amazing Professional Results

1. Enhanced Structural Stability
Professional deck construction ensures beams, posts, and connections are properly sized and anchored. Accurate engineering calculations and secure fastening methods provide reliable support, helping the structure withstand daily use, environmental exposure, and long-term wear in Hawaii’s demanding climate conditions.
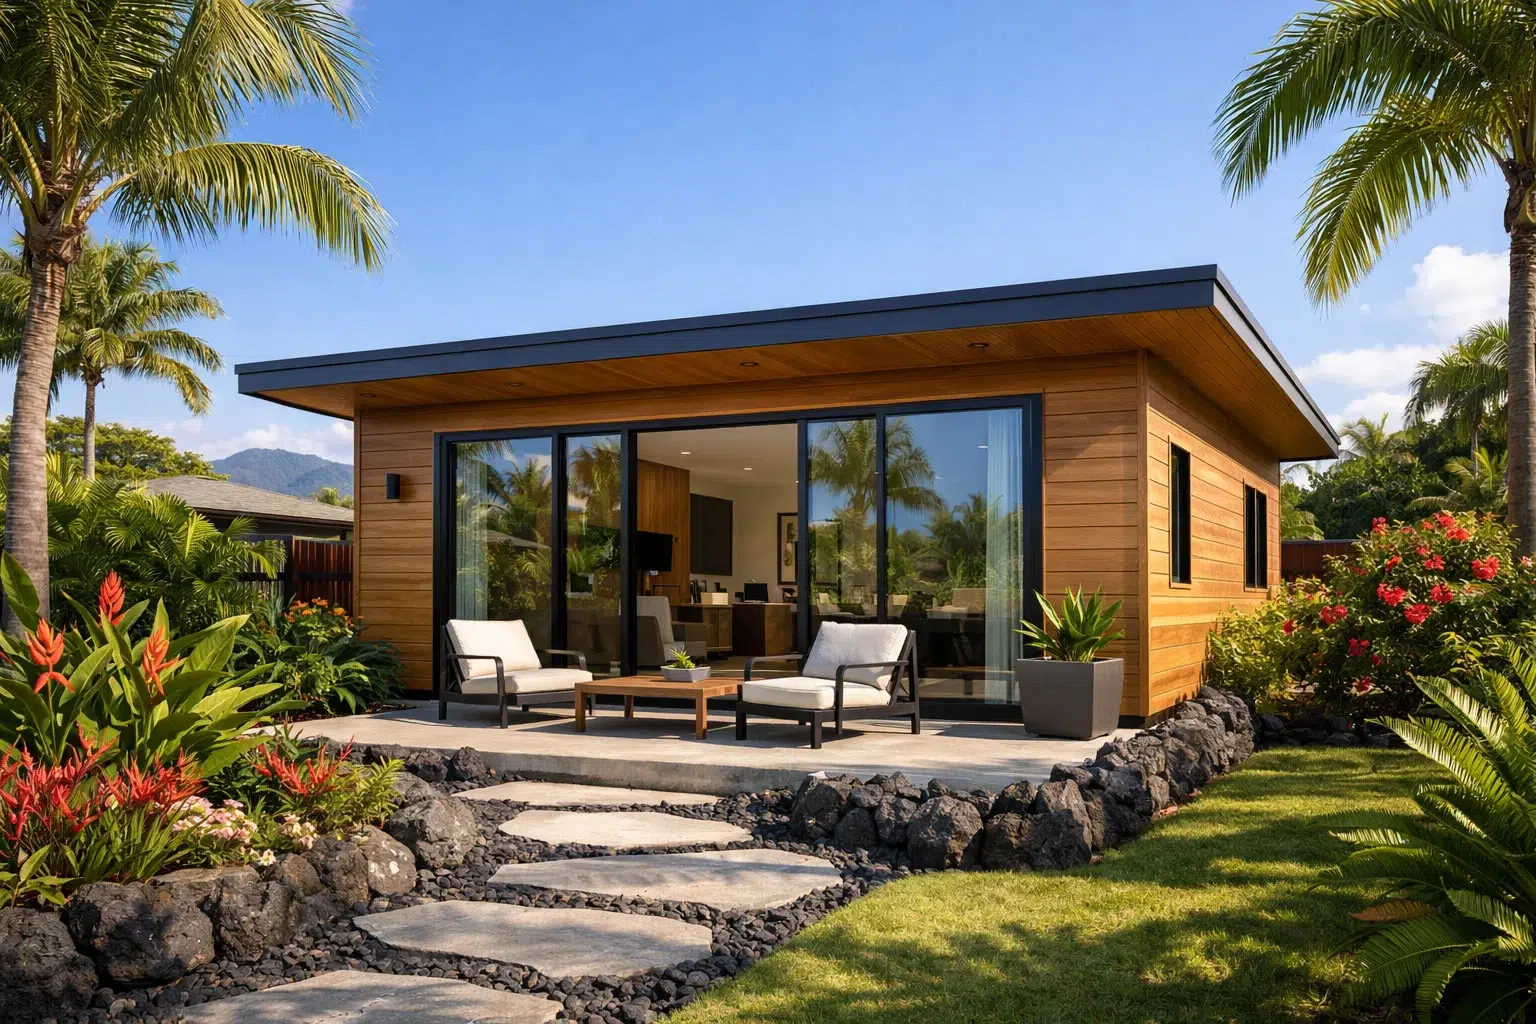
2. Seamless Indoor-Outdoor Integration
Thoughtful deck construction aligns elevation, door thresholds, and flooring transitions for smooth movement between interior and exterior spaces. This approach enhances comfort, accessibility, and visual continuity, supporting the open-air lifestyle that many Hawaii homeowners value in their properties.
3. Improved Drainage and Moisture Control
Effective deck construction incorporates slope adjustments, flashing, and waterproof membranes to direct water away from structural components. Proper moisture management reduces the risk of rot, mold, and premature deterioration, extending the functional lifespan of the deck.
4. Code-Compliant Guardrails and Stairs
Professional deck construction addresses railing heights, baluster spacing, stair geometry, and handrail requirements according to local regulations. Meeting these standards protects occupants, ensures inspection approval, and supports long-term safety for families and guests.
5. Durable, Low-Maintenance Finishes
Selecting appropriate sealants, stains, or composite materials during deck construction helps reduce maintenance demands. High-quality finishes resist fading, peeling, and moisture intrusion, maintaining appearance and structural integrity despite Hawaii’s sun and coastal air.
6. Customized Built-In Features
Experienced deck construction teams can integrate seating, planters, lighting, and shade structures directly into the design. Built-in elements maximize functionality while maintaining cohesive aesthetics tailored to homeowner preferences and property layout.
7. Optimized View Preservation
Strategic deck construction considers sightlines, railing styles, and elevation adjustments to protect scenic views. Whether overlooking the ocean or mountains, careful planning ensures structural additions enhance rather than obstruct natural surroundings.
8. Long-Term Investment Value
Quality-focused deck construction supports property appreciation by combining durability, visual appeal, and functional outdoor living space. A professionally built deck signals responsible maintenance and thoughtful upgrades to future buyers.
Why Homeowners Trust United Construction Group Hawaii
United Construction Group Hawaii brings years of hands-on experience managing residential projects across Oahu and neighboring islands. Our team emphasizes clear communication, detailed proposals, and craftsmanship tailored to Hawaii’s climate, ensuring every deck is built with durability, safety, and lasting performance in mind for homeowners.
We guide clients from concept through completion, coordinating design, engineering, permitting, and construction with transparency at every stage. By prioritizing accountability and consistent quality standards, we help homeowners make informed decisions and feel confident throughout their deck construction journey from start to final inspection approval.
Testimonials
“Brandon and the United Construction crew are very professional and they know what they are doing!” – Alvaro Guarana Jr.
“Brandon and his team are fantastic! Their response time is always quick, and the quality of their work is consistently excellent. Both myself and my clients have been very happy with the results. Highly recommend them for their professionalism and reliability. Thank you!” – Miki Kojima
“You would be hard pressed to find a more honest, reliable, and fair priced company to work with than UCG! Consider yourself lucky if you have the opportunity to work with Brandon and his company!” –Jesse Alverio
How It Works: Our Step-by-Step Process
Step-1: Initial Consultation
We begin with a detailed consultation to understand your goals, property layout, and budget considerations. Site conditions, access, and elevation changes are reviewed to determine feasibility and outline preliminary recommendations tailored to your home.
Step-2: Design and Planning
Our team develops a customized deck design, coordinating structural requirements, materials, and layout preferences. We review options with you, refine specifications, and prepare documentation necessary for permit submission and engineering approval.
Step-3: Permitting and Approvals
We manage permit applications, submit required drawings, and coordinate with county agencies. Inspections and revisions are handled efficiently, keeping your deck construction project aligned with regulatory standards and projected timelines.
Step-4: Construction and Installation
Skilled craftsmen execute the approved plan using durable materials suited to Hawaii’s climate. Structural framing, decking installation, railings, and finishing details are completed with careful supervision to ensure quality and safety.
Step-5: Final Inspection and Walkthrough
After construction, we coordinate final inspections and conduct a thorough walkthrough with you. Maintenance guidance and warranty information are provided so you understand how to protect your investment long-term.
Frequently Asked Questions
How long does deck construction typically take in Hawaii?
Do I need a permit for deck construction?
What materials perform best in coastal areas?
Can I stay in my home during construction?
How can I manage costs effectively?
Start Planning Your Deck Construction in Hawaii Today
Ready to transform your outdoor space with professionally planned deck construction in Hawaii? Schedule a consultation with United Construction Group Hawaii to discuss your goals, property conditions, and timeline. Our team provides clear guidance so you can move forward with confidence in every project phase.